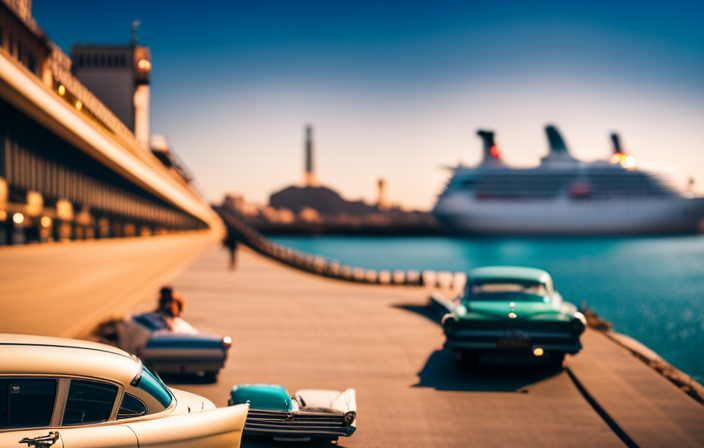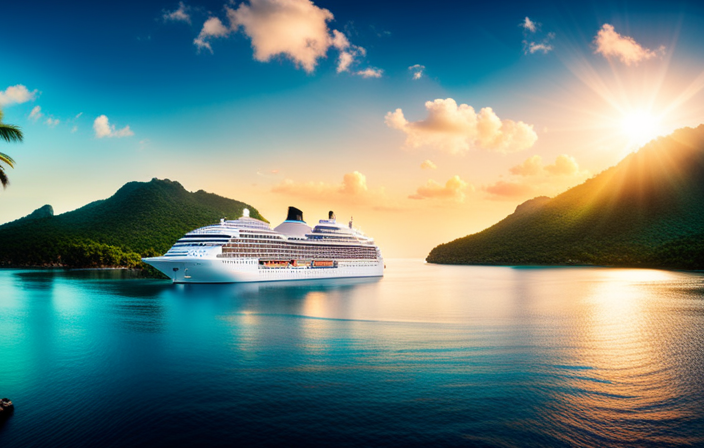

Ever dreamed of capturing the magic of a Disney cruise into a memento you can cherish forever? Look no further! Allow me to guide you through a magical DIY journey where you’ll create your very own Disney cruise magnets.
This craft project will not only transport you back to the fun-filled days at sea, but also add a touch of Disney magic to your everyday life.
Gather your supplies, unleash your creativity, and let the memories come flooding back as you transform ordinary magnets into delightful mementos.
From choosing your Disney cruise theme to decorating your magnets with cherished photos and vibrant designs, this step-by-step guide will ensure that your creations are nothing short of spectacular.
So, get ready to embark on a crafty adventure filled with pixie dust and endless possibilities. Whether you’re reminiscing on past voyages or dreaming of future ones, these magnets will serve as a constant reminder of the whimsical memories made aboard Disney’s magical ships.
Let’s dive in and create some Disney cruise magic!
Key Takeaways
- Showcasing Disney cruise magnets can create a unique display in your home and spark conversations with friends and family.
- Finding a prominent spot for your magnet display is important, such as using your fridge or a magnetic board, and ensuring the display is eye-catching.
- Arranging magnets in an eye-catching display involves experimenting with different layouts, using colors and patterns, and regularly updating the arrangement to keep it fresh.
- Grouping magnets by theme, such as sorting them based on Disney characters or movies, can create a cohesive and visually appealing theme for the display.

Electactic Espresso Machine 15 Bar with Built-in Anti-Clog Coffee Grinder,Stainless Steel Coffee Maker with 77.8 oz Removable Water Tank for Cappuccino/Latte,Home&Office,Black
【UPGRADED CLOG-CRUSHING GRIND PATH】Tired of grinder jams? Our upgraded system features a 20% wider polished chute + reinforced...
As an affiliate, we earn on qualifying purchases.
Gather Your Supplies
Now it’s time to gather all your supplies so you can start creating your very own Disney cruise magnets and bring a touch of magic into your home! To get started, you’ll need some basic materials like clear glass gems, strong magnets, and a hot glue gun. You can find these supplies at your local craft store or order them online.
Once you have your supplies ready, it’s time to think about the design of your magnets. You can choose from a variety of Disney characters, icons, or even create your own custom designs.
As you gather your supplies, don’t forget to also gather your cruise memories. This could include photos, ticket stubs, or anything else that reminds you of your amazing Disney cruise experience. Organize these memories in a way that will make it easy to incorporate them into your magnet designs.
Now, let’s move on to the next step and choose your Disney cruise theme.

atatix Espresso Machine with Milk Frother, 20 Bar Pressure Espresso Maker, with 44OZ Removable Tank, Compact Stainless Steel Coffee Machine for Home, Office, Latte, Cappuccino, Macchiato, Silver
【Make Favorite Espresso Coffee by Yourself】The espresso machine with milk frother allows you to prepare all your favorite...
As an affiliate, we earn on qualifying purchases.
Choose Your Disney Cruise Theme
To create your own personalized Disney cruise magnets, start by selecting a theme that captures the enchantment of your voyage.
Get creative with your cruise themes to make your magnets truly unique. Whether you choose a classic Disney character theme or opt for a specific cruise destination, the possibilities are endless.
Personalizing your Disney cruise is all about showcasing your family’s favorite aspects of the trip. Consider incorporating elements like Mickey Mouse, princesses, or even the ship’s logo into your design. This will make your magnets a cherished keepsake that brings back memories of your magical adventure.
Once you’ve chosen your theme, it’s time to select your magnet base and bring your vision to life.

XIXUBX 20Bar Espresso Machine, Compact Espresso Maker with Milk Frother, Stainless Steel Coffee Machine for Cappuccino&Latte, 42oz Water Tank, Visible Pressure Gauge, Home&Office, Silver
Make Your Favorite Espresso Coffee: XIXUBX semi automatic espresso machine is equipped with a powerful steam frother and...
As an affiliate, we earn on qualifying purchases.
Select Your Magnet Base
Choose the perfect base for your personalized Disney cruise magnets and let your imagination run wild. When it comes to magnet materials, there are a few options to consider.
One popular choice is using clear acrylic. This material allows for a sleek and modern look, while also protecting your design from wear and tear.
Another option is using wooden bases, which add a rustic and natural feel to your magnets.
You can also opt for ceramic bases, which give a more elegant and classy touch.
Whichever material you choose, make sure it suits your creative designs and matches the overall theme of your Disney cruise.
Once you have selected your base, it’s time to print or cut out your cruise memories and turn them into beautiful magnets that will bring a smile to your face every time you see them.

Gevi Commercial Espresso and Coffee Makers, Professional 20 Bar Espresso Maker with Milk Frother, Stainless Steel Expresso Coffee Machines for Home, Compact Cappuccino Machine, Great Gift
𝐎𝐩𝐭𝐢𝐦𝐚𝐥 𝐅𝐥𝐚𝐯𝐨𝐫 𝐄𝐱𝐭𝐫𝐚𝐜𝐭𝐢𝐨𝐧 - Equipped with a 20-bar pump, NTC temperature control, pre-infusion feature, and a pressure gauge,...
As an affiliate, we earn on qualifying purchases.
Print or Cut Out Your Cruise Memories
Transform your cherished memories from your Disney cruise into tangible keepsakes by printing or cutting them out.
Whether you choose to print your favorite photos or cut out small icons and symbols that represent special moments, there are endless possibilities for creating printable cruise crafts.
Printing your photos allows you to relive the magic of your vacation every time you look at your magnets. You can capture the stunning views, the hilarious character interactions, and the unforgettable experiences in vibrant detail.
Cutting out icons and symbols, on the other hand, gives you the chance to create unique and personalized magnets that perfectly encapsulate your trip. From Mickey Mouse ears to cruise ship silhouettes, preserving vacation memories has never been more fun.
So, let’s dive into the next step and decorate your magnets with these cherished mementos.
Decorate Your Magnets
Get ready to add a touch of magic to your cherished memories as you bring your magnets to life with personal touches and creative flair. Adding embellishments is a fantastic way to make your Disney cruise magnets unique and eye-catching.
You can use different materials like rhinestones, glitter, or even small seashells to add that extra sparkle and shine. Get creative and think outside the box! Experiment with different colors, textures, and shapes to create a truly personalized magnet collection that reflects your individual style.
Don’t forget to have fun with it! Once you’ve decorated your magnets, you’ll be amazed at how they transform into mini works of art.
Now, let’s move on to the next step and add some personalization to make your magnets truly one-of-a-kind.
Add Personalization
Adding personalization to your magnets is a great way to make them stand out and show off your unique style, even if you’re not the most artistic person. One way to add custom designs is by using printable magnet sheets. You can find templates online or create your own using design software.
Another option is to personalize your magnets with names. This could be the names of your family members or even your favorite Disney characters. You can use adhesive letters or paint pens to write the names on the magnets.
Adding personal touches like these will make your magnets truly one-of-a-kind.
Now that your magnets are decorated and personalized, it’s time to apply a protective coating to ensure they last for years to come.
Apply a Protective Coating
To ensure your personalized magnets stay in top condition for years, it’s time to give them a protective coating. Applying a protective coating not only adds a glossy finish to your magnets but also helps to preserve the design and prevent any damage. Here are a few benefits of using a protective coating:
- Protection against scratches and fading
- Enhanced durability, making the magnets last longer
- Resistance to moisture and UV rays
- Easy cleaning, as the coating repels dust and dirt
- A professional and polished look to your magnets
When choosing the right protective coating, consider the material of your magnets and the type of finish you desire. Some popular options include clear varnish, epoxy resin, or acrylic sealant. Ensure that the coating is compatible with your magnet material and apply it following the manufacturer’s instructions.
Now that your magnets are coated, it’s time to let them dry before moving on to the next step.
Let Your Magnets Dry
Now that you’ve applied a protective coating, it’s time to let your magnets dry. The drying process is crucial to ensure perfect magnet designs.
As the magnets dry, the protective coating will harden, creating a durable and long-lasting finish. It’s important to give them enough time to dry completely. Rushing this step could result in smudged or damaged designs.
While you wait, take this opportunity to imagine how your finished magnets will look on your fridge, holding up all your Disney Cruise memories.
Once the magnets are dry, you can move on to the next section. Here, you will learn how to display and enjoy your Disney Cruise memories in style.
Display and Enjoy Your Disney Cruise Memories
Imagine stepping into your kitchen and being greeted by a vibrant reminder of your magical voyage on the high seas. Displaying your Disney cruise memories in a creative and eye-catching way is a fantastic method of preserving those special moments. There are countless ways to showcase your magnets and relive the joy and excitement of your cruise. One idea is to create a memory wall, where you can arrange your magnets alongside other mementos such as photographs and tickets. Another option is to transform a bulletin board into a cruise-themed display, using your magnets as the centerpiece. Finally, you can incorporate your magnets into a decorative photo frame, creating a unique and personalized piece of art. Whichever method you choose, the key is to let your imagination run wild and have fun with it. So, let your memories shine and share your DIY project with others by displaying your Disney cruise magnets in a way that reflects your own unique style.
Share Your DIY Project with Others
Transform your DIY project into a conversation starter by proudly displaying it for others to admire. Sharing your homemade Disney cruise magnets with others is a great way to showcase your creativity and connect with fellow DIY enthusiasts.
Start by finding a prominent spot in your home, such as your fridge or a magnetic board, to showcase your collection. Arrange the magnets in an eye-catching display, grouping them by theme or creating a chronological order of your Disney cruise memories. Adding captions or labels can also enhance the storytelling aspect of your project.
When friends and family come over, they will be drawn to your unique display and will be eager to hear the stories behind each magnet. It’s a wonderful way to spark conversations, share your creative process, and bond with others over a shared love for Disney and DIY projects.
Frequently Asked Questions
How much do Disney cruise magnets typically cost to make?
When it comes to the cost comparison of Disney cruise magnets, it really depends on whether you choose to DIY or purchase them. DIY can be more affordable, but purchasing offers convenience and a professional finish.
Where can I find Disney-themed images to print or cut out for my cruise magnets?
I found a treasure trove of Disney-themed images for my cruise magnets! I scoured the internet for free printable designs and even stumbled upon some adorable cutouts. Now I just need to figure out the best DIY magnet printing method to bring them to life!
Can I use a different type of coating instead of a protective coating for my magnets?
Yes, you can use a different type of coating for your magnets, but using a protective coating offers many benefits. It not only adds a layer of durability, but also enhances the appearance and longevity of your magnets.
How long does it take for the protective coating to dry on the magnets?
The protective coating on magnets typically takes a few hours to dry completely. However, if you’re looking for alternative coatings, consider using epoxy resin or acrylic sealant, which can also provide a durable and glossy finish.
Are there any special techniques or tips for displaying the magnets in a creative way?
When it comes to displaying magnets, the possibilities are endless! Get creative with a magnetic board, a metal tray, or even a clothesline. Mix and match different sizes and shapes to create a unique and eye-catching display.
Conclusion
In conclusion, creating Disney cruise magnets is not only a fun DIY project, but it also allows you to preserve and display your cherished memories in a unique way.
As I held my finished magnet, adorned with a photo of my family smiling on the deck, it served as a reminder of the joy we experienced on our Disney cruise.
Just like these magnets bring together different elements to create something beautiful, our cruise brought together loved ones and created unforgettable moments.
So, go ahead and embark on this creative journey, and let your Disney cruise memories shine on your refrigerator for all to see.