
To prevent dirty surprises with your robot vacuum, make certain you position the charging station centrally against a wall in an accessible, clutter-free area. Regularly check that the station’s power connection and contacts are clean, and clear the surrounding space for smooth navigation. Before each cleaning, inspect brushes, filters, and sensors to maintain peak performance. Mastering these setup tips helps guarantee thorough, hassle-free cleaning—and there’s more to discover to keep your robot running smoothly.
Key Takeaways
- Position the charging station centrally against a wall in a clutter-free, accessible area for smooth docking.
- Regularly clean robot sensors, brushes, and filters to ensure optimal navigation and cleaning performance.
- Verify the power outlet and charging contacts are clean and functioning properly before starting.
- Clear the cleaning area of obstacles to prevent jams and ensure the robot can return to the station easily.
- Perform routine maintenance and software updates to minimize malfunctions and improve overall efficiency.
Robot vacuums have revolutionized the way you clean your home by offering a hands-free solution that saves time and effort. But to keep your device performing at its best, you need to prepare it properly before each trip. This pre‑trip setup isn’t just about turning it on; it involves ensuring your robot is ready to tackle dirt without surprises. A key part of this is understanding how your robot interacts with its charging station and establishing effective maintenance routines.
First, you want to make sure your robot’s charging station is in the right spot. Place it in a central, accessible location against a wall, away from clutter or cords that could obstruct its docking. Clear the area around the station so the robot can easily find its way back when its battery runs low. A well-positioned charging station ensures your robot can return to recharge without issues, preventing awkward pauses mid-cleaning or incomplete coverage. Regularly check that the station’s power outlet is functioning properly and that the charging contacts on both the station and robot are clean. Dirty contacts can interfere with charging, leading to shorter battery life or incomplete recharges.
Place your charging station centrally against a wall, clear of clutter, to ensure efficient robot docking and recharging.
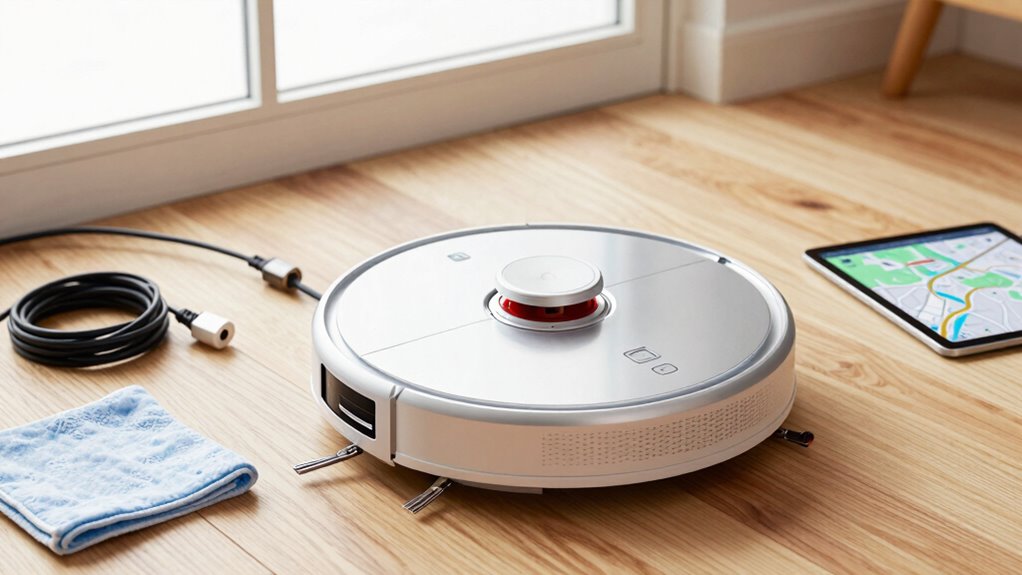
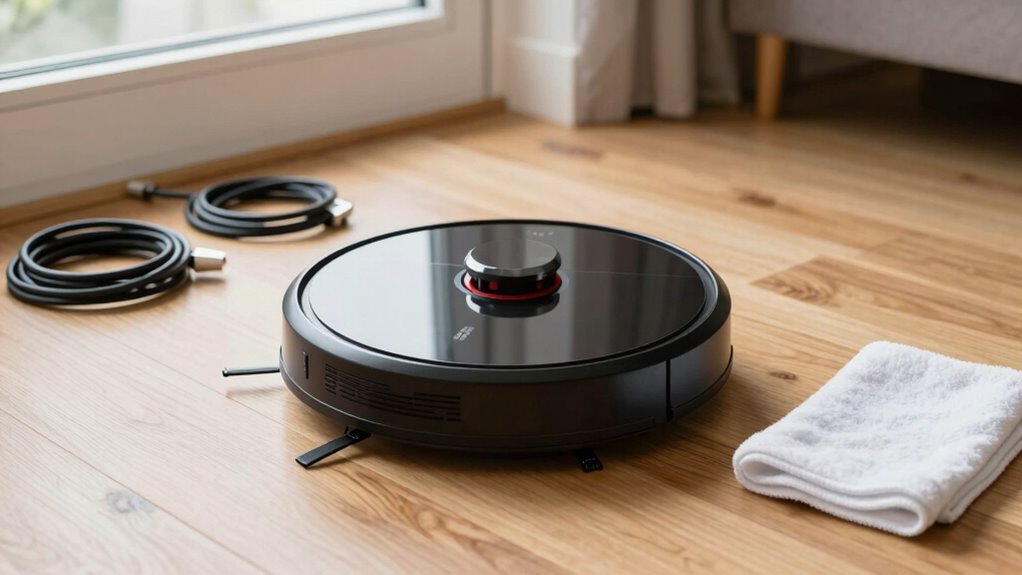
Your maintenance routines play a big role in preventing dirty surprises. Before each cleaning session, inspect the robot’s brushes, filters, and wheels. Remove hair, debris, or dust that could clog the brushes or impede movement. Many models have easily accessible components designed for quick cleaning—taking just a few minutes can substantially extend their lifespan. Also, keep an eye on the dustbin. Empty it regularly to ensure maximum suction and prevent dirt from spilling or clogging the system. A clean dustbin and filter not only improve cleaning efficiency but also help maintain air quality in your home.
In addition, consider scheduling periodic deep-cleaning routines for your robot. This might include replacing filters, cleaning sensors, and checking for software updates. These updates can improve navigation and overall performance, reducing the chances of malfunctions or missed spots. Proper filtration and regular maintenance routines can significantly prolong your robot’s lifespan and keep it functioning optimally. Remember, a well-maintained robot is less likely to encounter issues that could lead to unexpected messes or the need for manual cleaning.
robot vacuum charging station
As an affiliate, we earn on qualifying purchases.
As an affiliate, we earn on qualifying purchases.
Frequently Asked Questions
How Often Should I Replace the Robot Vacuum’s Filters?
You should replace your robot vacuum’s filters every 2 to 3 months as part of your maintenance schedule. Regular filter replacement helps maintain ideal suction and cleaning performance. Keep an eye on filters for signs of dirt buildup or reduced airflow, and replace them sooner if needed. Staying consistent with your filter replacement ensures your robot stays efficient and prevents dirt and allergens from circulating in your home.
Can Robot Vacuums Clean Stairs or Only Flat Surfaces?
Robot vacuums mainly clean flat surfaces, but some models can handle stair cleaning or uneven surfaces with special attachments or sensors. If your vacuum doesn’t have stair-specific features, it won’t safely clean stairs. You’ll need to manually vacuum stairs or choose a model with advanced navigation designed for uneven surfaces. Always check your vacuum’s capabilities before relying on it for stair cleaning to avoid damage or accidents.
What’s the Best Way to Handle Pet Hair With a Robot Vacuum?
To handle pet hair with your robot vacuum, start with pet hair removal by regularly emptying the bin and cleaning the brush roll. Choose a model with strong suction and rubber brushes for better hair pickup. To extend battery life tips, avoid overloading the vacuum and schedule cleaning sessions when your pet is out. This keeps your floors fur-free and your device running efficiently, saving you time and effort.
Are Robot Vacuums Safe for Hardwood Floors?
Yes, robot vacuums are safe for hardwood floors if you perform regular robot vacuum maintenance. Keep brushes clean and filters replaced to prevent scratching and debris buildup. Use the appropriate settings to protect hardwood floor durability, like gentle suction modes. Avoid overly aggressive brushes that could scratch. When maintained properly, your robot vacuum will effectively clean without damaging your hardwood floors, ensuring they stay looking great over time.
How Do I Update the Firmware on My Robot Vacuum?
Think of your robot vacuum’s firmware as its heartbeat—keeping it alive and efficient. To update it, connect your device to Wi-Fi and open the app. Follow the prompts for software updates, which act as troubleshooting tips to fix bugs and improve performance. This process refreshes your vacuum’s brain, ensuring it works smoothly and avoids surprises. Regular updates are the key to a smarter, more reliable cleaning partner.
robot vacuum brushes and filters
As an affiliate, we earn on qualifying purchases.
As an affiliate, we earn on qualifying purchases.
Conclusion
Think of your robot vacuum as a trusted guardian, ready to sweep away chaos before it takes hold. A quick pre-trip setup isn’t just about cleanliness—it’s about peace of mind, symbolizing your control over daily surprises. When you prepare it properly, you’re planting seeds of order that bloom into a spotless home. In this small act, you’re nurturing a calmer, more confident you—showing that even tiny steps can lead to a cleaner, brighter future.
robot vacuum sensor cleaning tools
As an affiliate, we earn on qualifying purchases.
As an affiliate, we earn on qualifying purchases.
robot vacuum maintenance kit
As an affiliate, we earn on qualifying purchases.
As an affiliate, we earn on qualifying purchases.