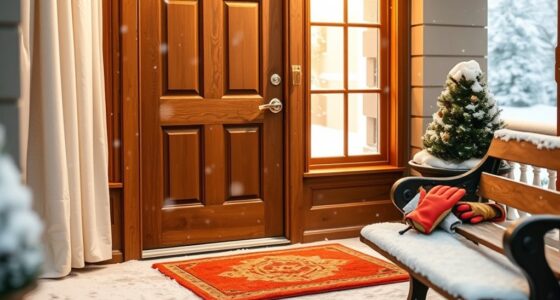
To storm-proof your home before travel, install sturdy storm shutters on all windows and reinforce your roof with impact-resistant materials, clips, or straps. Confirm shutters are properly secured and functioning. Inspect your roof for vulnerabilities like loose shingles or weak spots and strengthen them with fasteners or hurricane ties. Doing these things proactively protects your property from high winds, debris, and hail, giving you peace of mind that your home is resilient even if weather turns bad. Learn more to maximize your home’s protection.
Key Takeaways
- Install storm shutters securely on all windows to prevent damage from debris and high winds.
- Reinforce the roof by securing shingles, adding fasteners, and installing hurricane ties or straps.
- Conduct a thorough inspection of your home’s exterior for vulnerabilities and address them proactively.
- Schedule professional storm-proofing measures well before travel to ensure proper installation and effectiveness.
- Remove or secure outdoor items that could become projectiles during storms to protect your property.
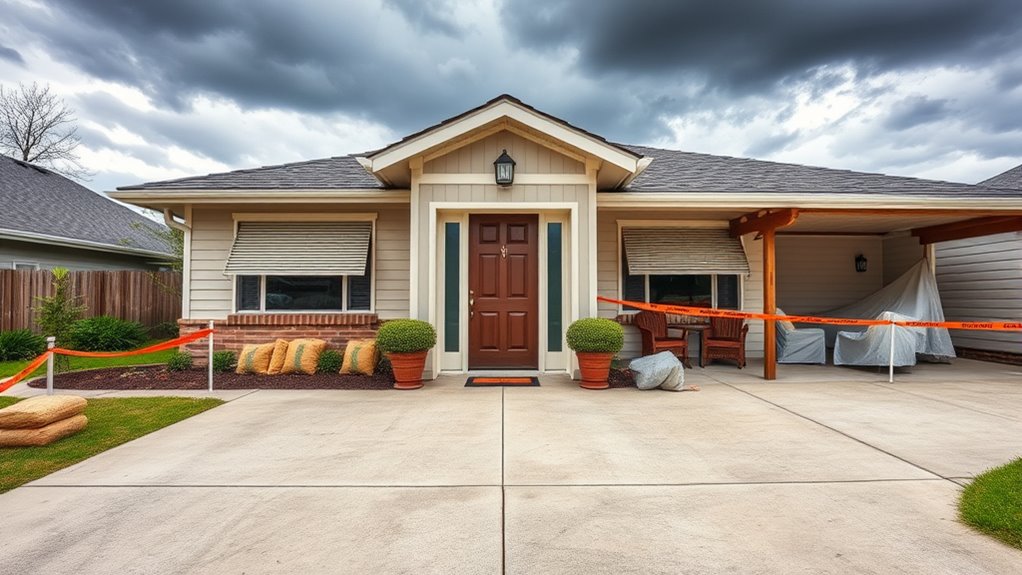
Before you head out on your travels, it’s vital to storm-proof your home to prevent weather-related damage. One of the most effective steps you can take is investing in storm shutter installation. Storm shutters act as a protective barrier that shields windows from high winds, flying debris, and hail, which are common during storms. By securing your windows with sturdy shutters, you greatly reduce the risk of shattered glass and water intrusion. When installing storm shutters, make sure they are properly anchored and easy to deploy, so you’re prepared even if weather conditions worsen suddenly. It’s a smart move to choose durable materials like aluminum or reinforced polycarbonate, which can withstand harsh storm forces.
Alongside storm shutters, reinforcing your roof is equally essential. Roof reinforcement techniques can dramatically improve your home’s resilience against severe weather. Start by inspecting your roof for any existing vulnerabilities—loose or damaged shingles, weakened rafters, or vulnerable areas that need extra support. To bolster your roof’s strength, consider adding additional fasteners or clips to secure shingles more firmly, preventing them from lifting during high winds. Installing roof straps or hurricane ties can also help anchor the roof to the walls more securely, reducing the risk of uplift and detachment during a storm. If your roof is older or shows signs of wear, it might be wise to consult a professional for advanced reinforcement methods, such as applying impact-resistant coatings or installing stronger underlayment. These upgrades can absorb the impact of debris and lessen the chances of leaks or structural failure. Additionally, utilizing high-quality, multi-layered roofing materials can further improve your home’s storm resistance and overall durability.
Don’t forget that these preparations work best when done well in advance of your departure. Proper storm shutter installation requires careful planning and precise execution, so it’s advisable to hire experienced contractors if you’re unsure how to proceed. Similarly, roof reinforcement techniques involve inspecting your entire roof system and applying targeted upgrades to vulnerable areas. By proactively addressing these aspects, you’re not just protecting your home but also gaining peace of mind while you’re away, knowing that your property is better equipped to withstand severe weather. Remember, the goal isn’t just to meet the immediate storm season but to create a resilient barrier that can handle unexpected weather events throughout the year. Taking these steps ensures your home remains safe, secure, and protected, even when you’re not there to monitor it firsthand.
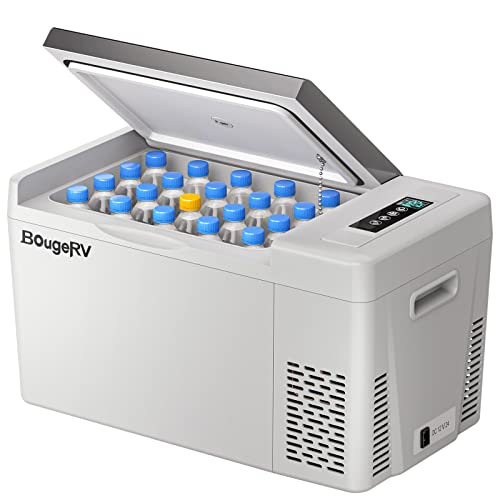
BougeRV 12 Volt Refrigerator 12V Car Fridge 23 Quart Portable Freezer Compressor Cooler 12/24V DC 110~240 Volt AC for Truck Van RV Camper SUV Travel Camping Road Trips Tailgating -8℉~50℉
What You Get: The CR22 12V refrigerator comes with a 2-year Tech Support. If you have any questions...
As an affiliate, we earn on qualifying purchases.
Frequently Asked Questions
How Early Should I Start Storm-Proofing Before Leaving?
You should start storm-proofing your home at least a week before your departure, considering seasonal planning and timing considerations. This gives you enough time to secure windows, trim trees, and check your roof without rushing. Starting early helps you catch any potential issues and guarantees your home is protected while you’re away. Don’t wait until the last minute—early preparation provides peace of mind and better safety during storms.
Are There Affordable Storm-Proofing Options for Renters?
Did you know that 37% of renters experience weather-related damages each year? As a renter, affordable storm-proofing options are available, like securing windows with DIY storm proofing kits or using sandbags to protect entryways. Your renters’ insurance can cover some storm damage costs, but taking proactive steps helps reduce risks and potential expenses. These simple, cost-effective measures keep your home safer without breaking the bank.
Can I Do Storm-Proofing Myself or Should I Hire Professionals?
You can definitely handle some storm-proofing DIY projects if you’re comfortable, like installing storm shutters or sealing gaps. However, for more complex tasks such as reinforcing your roof or electrical systems, it’s better to hire professional services. Doing a mix of DIY and professional work guarantees your home is well protected without overspending. Always assess your skills first, and when in doubt, consulting experts provides peace of mind.
What Should I Do if I Forgot to Storm-Proof Before Traveling?
If you forgot to storm-proof before traveling, focus on emergency repairs and temporary fixes immediately. Start by securing loose objects, covering broken windows with plastic or plywood, and sealing gaps with tape or tarp. Contact a professional if needed for urgent repairs or more extensive damage. Prioritize safety, and avoid risking injury. Once you’re back, plan thorough storm-proofing to better protect your home in future storms.
How Do I Ensure My Storm-Proofing Measures Are Effective?
Did you know that 70% of storm damage could be reduced with proper storm proofing? To make certain your measures are effective, double-check your storm proofing materials against safety checklists, focusing on secure windows, doors, and roof integrity. Inspect all barriers for gaps or weaknesses, and confirm that shutters and storm doors are properly installed. Regularly review your safety checklist to stay confident your home is protected during storms.

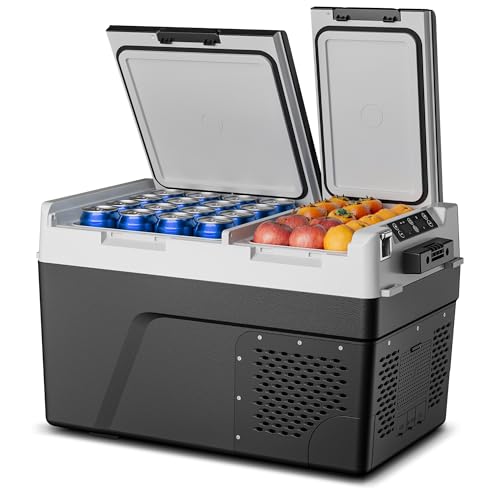
EUHOMY 12 Volt Refrigerator, 19QT(18L) Compressor Electric Cooler APP Control, Car Fridge -4℉~68℉, Portable Refrigerator 12/24V DC 100-240V AC, Portable Freezer for Camping, Travel, Boat
Package Inclusions & 2 Year Tech Support; EUHOMY electric cooler is equipped with 100/240V AC and 12/24V DC...
As an affiliate, we earn on qualifying purchases.
Conclusion
By storm-proofing your home before you travel, you’re not just sealing windows or anchoring items—you’re planting a sturdy tree against the wind. When you return, you’ll find peace in knowing your sanctuary stands strong, unbowed by the storm’s chaos. Your efforts are the roots that hold everything firm, turning your house into a fortress of calm amidst the tempest. Prepare now, and let your home be a beacon of resilience when the skies threaten.
Feelfunn 12 Volt Refrigerator Car Fridge - 40QT(38L) Dual Zone Electric Cooler, Car Refrigerator -4℉~68℉, Portable Refrigerator 12/24V DC 100-240V AC, Portable Freezer for Travel Camping RV Home
Dual-Zone Independent Control: This 12 volt refrigerator has 2 zones with separate temp control (-4°F to 68°F), preventing...
As an affiliate, we earn on qualifying purchases.

Setpower 12V Refrigerator 21 Quart Portable Freezer 50 Hours Keep Cool,Electric Cooler for Vehicles Car Refrigerator for Car Camping Truck Van RV SUV Road Trip Travel (3-year warranty)
Extended 3-year warranty: The SetPower 12V refrigerator provide ONE-ON-ONE friendly 3 years tech support on the compressor and...
As an affiliate, we earn on qualifying purchases.