
To prevent leaks with your bidet seat, first verify it’s compatible with your toilet and measure bolt spacing accurately. Turn off the water supply, drain the tank, and carefully remove the old seat. Use the provided adapters and tighten all water connections hand-tight, then snug with a wrench—avoiding overtightening. Check for leaks after turning the water back on and regularly inspect fittings. Want more tips to keep leaks at bay? Keep going to learn essential maintenance tricks.
Key Takeaways
- Ensure all water connections are hand-tightened, then gently tightened with a wrench to prevent leaks.
- Inspect and tighten mounting bolts regularly to maintain a secure, leak-free fit.
- Use the correct adapter or T-valve to match your toilet’s water supply and ensure a proper seal.
- Check for leaks immediately after turning on water, tightening fittings if any drips are detected.
- Regularly inspect hoses and fittings for corrosion or damage, replacing worn parts promptly.
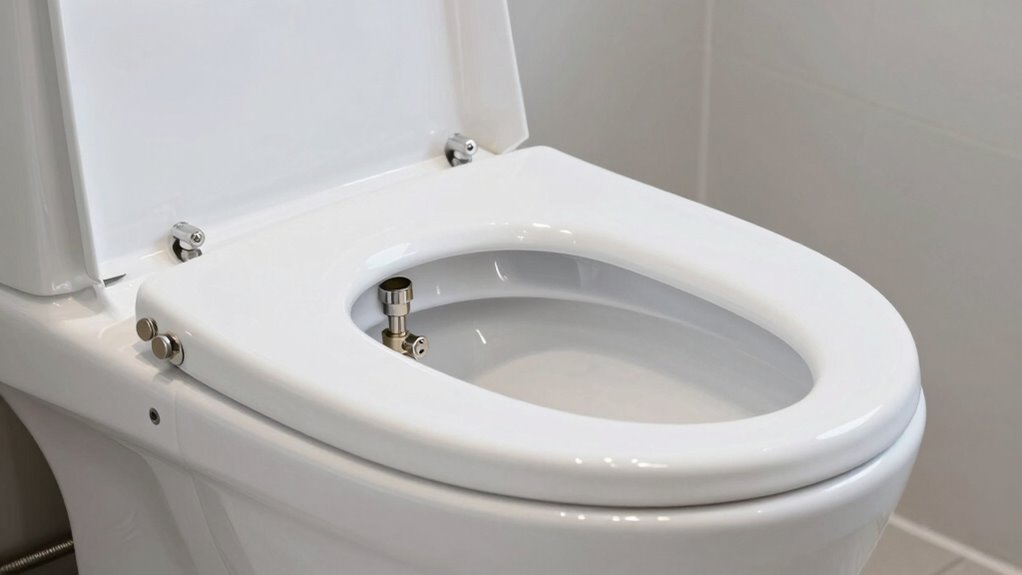
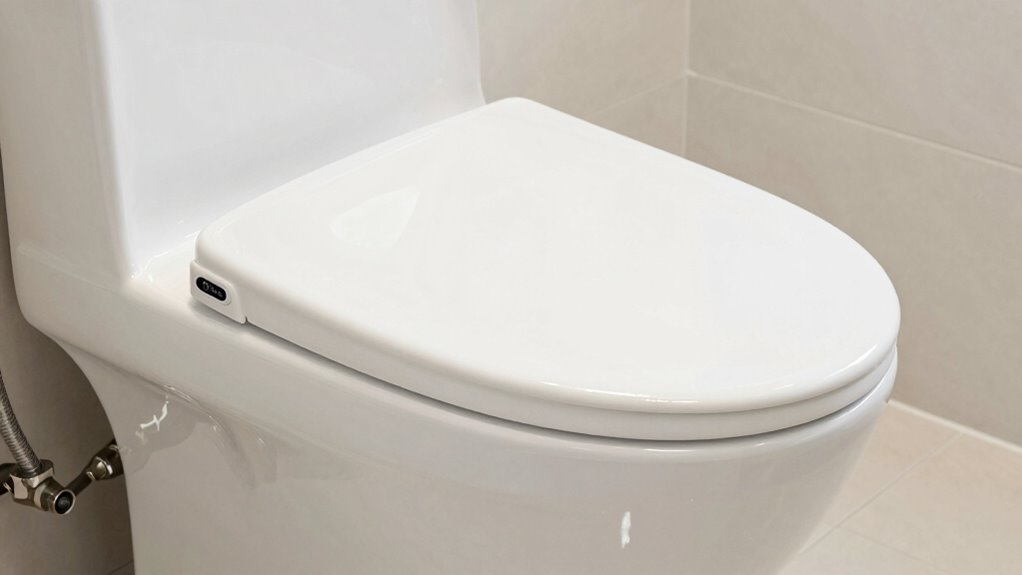
Bidet seats are a popular upgrade for modern bathrooms, offering a more hygienic and comfortable alternative to traditional toilet paper. When you decide to install one, it’s crucial to follow some key installation tips to ensure everything works smoothly and avoids leaks. First, check that your toilet bowl is compatible with the bidet seat you’re choosing. Measure the bolt spacing and verify the weight capacity so you don’t run into surprises during setup. Before beginning, turn off your water supply and drain the tank to prevent water spills. Carefully remove the existing toilet seat, then align the bidet seat’s mounting holes with the bowl. Tighten the bolts securely but avoid overtightening, which can crack the porcelain or cause misalignment. Connecting the water supply line is often the trickiest part; use the provided adapter or T-valve and ensure all connections are tight to prevent leaks. A good tip is to hand-tighten first, then finish with a wrench, but don’t overdo it. Once installed, turn the water back on and check for leaks at all connection points. If you spot any, tighten the fittings slightly until the leak stops.
Maintaining your bidet seat is equally straightforward but requires regular routines to keep everything functioning properly. Periodically inspect the water connections for signs of leaks or corrosion. It’s a good idea to check the mounting bolts once a month to ensure they haven’t loosened over time. Cleaning the bidet nozzles is crucial for hygiene; many models have self-cleaning features, but you should also manually clean the nozzles with a soft cloth and mild soap every few weeks. Keep the seat and controls dry and free of dust, which can interfere with the electronic components. If your bidet seat has a filter, replace it according to the manufacturer’s recommendations—usually every six months—to maintain excellent water flow and hygiene. Also, monitor the water pressure and temperature controls periodically to prevent malfunctions or damage. If you notice inconsistent spray patterns or leaks during use, it’s time to double-check connections and consider replacing worn parts.
A proper installation and diligent maintenance routines are key to enjoying your bidet seat without worry. Proper setup helps prevent leaks from the start, saving you money and hassle later on. Regular inspections and cleaning prevent buildup and mechanical issues, extending your bidet’s lifespan. Keeping everything tight, clean, and in good working order ensures you get the most hygienic, comfortable experience every time you use it. By taking these simple precautions, you’ll enjoy the benefits of your bidet seat for years to come, without the stress of unexpected plumbing issues or leaks.
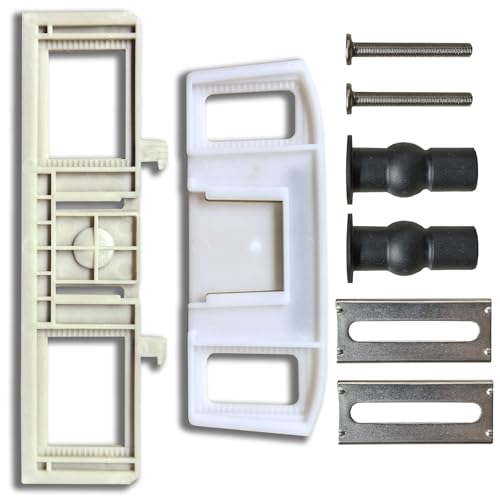
WLJBIDET Fixing Plate with Screws, Adjustment Tabs, Rubber Expansion Nut
Two sizes
As an affiliate, we earn on qualifying purchases.
As an affiliate, we earn on qualifying purchases.
Frequently Asked Questions
How Often Should I Inspect My Bidet Seat’s Plumbing Connections?
You should perform a DIY inspection of your bidet seat’s plumbing connections every three to six months. Regular maintenance helps catch leaks early and guarantees proper function. During your maintenance schedule, check for loose fittings, worn hoses, or any signs of water damage. Staying proactive with these inspections keeps your bidet seat working smoothly and prevents costly repairs down the line.
Can a Bidet Seat Cause Water Damage if It Leaks?
Yes, a bidet seat can cause water damage if it leaks, especially if not properly installed. During bidet seat installation, make certain all plumbing connections are secure. Regular water pressure checks help identify potential leaks early. If you notice water pooling or dampness around your bidet, shut off the water supply immediately and inspect the connections. Maintaining these steps prevents water damage and prolongs your bidet’s lifespan.
What Tools Are Needed to Check for Bidet Seat Leaks?
Checking for bidet seat leaks is like hunting for hidden treasure—you need the right tools. Grab a flashlight, a wrench, and a few plumbing tools for leak detection. Turn off the water supply first, then inspect connections and hoses for drips or moisture. Use the flashlight to spot any leaks, and tighten fittings if needed. Regularly performing this check helps prevent water damage and keeps your bidet seat functioning smoothly.
Are There Specific Signs Indicating a Bidet Seat Is Leaking?
If your bidet seat is leaking, you’ll notice water pooling around the base or dripping from connections. Listen for hissing sounds or observe a sudden spike in your water bill. Leak detection is key, so inspect seals and hoses regularly. Maintenance tips include tightening fittings and replacing worn seals promptly. Addressing these signs early helps prevent further damage and guarantees your bidet seat functions smoothly.
How Long Does a Typical Bidet Seat Plumbing Check Take?
A plumbing check for your bidet seat takes about 15 to 30 minutes, like a quick tune-up for your car. Follow installation tips and stick to a maintenance schedule to keep it running smoothly. During the check, you’ll inspect connections and look for leaks, ensuring everything’s secure. Regular checks prevent costly repairs down the line and help you enjoy your bidet seat leak-free and in top condition.

Bidet T Adapter,toilet faucet splitter 3 Way 7/8inch 3/8inch 7/8inch Plumbing Splitter,shower head splitter,Valve Hose Fitting for Shower Head Diverter Sprayer Faucet
T Bidet Connector 3 Way 7/8inch 3/8inch 7/8inch: 15/16inch (also match 7/8inch) connect to the toilet tank, 9/16inch…
As an affiliate, we earn on qualifying purchases.
As an affiliate, we earn on qualifying purchases.
Conclusion
By checking your bidet seat’s plumbing regularly, you keep leaks at bay like a vigilant guard, ensuring peace of mind and smooth operation. Think of it as tending a garden—attention today prevents weeds of trouble tomorrow. Don’t wait for a drip to turn into a flood; stay proactive, inspect those connections, and enjoy a leak-free experience that keeps your bathroom running like a well-oiled machine. Your bidet seat will thank you with reliable comfort every time.

8 PCS Universal Toilet Seat Bumpers for Bidet,Toilet Lid Rubber Bumpers,Strong Adhesion Toilet Seat Spacers Bidet Buffer,Rubber Bumpers Pads Replacement for Home, Hotel, Hospital.
Important Notice:This toilet seat bumpers features a self-adhesive backing. For optimal adhesion, please ensure the mounting surface is…
As an affiliate, we earn on qualifying purchases.
As an affiliate, we earn on qualifying purchases.

Fluidmaster Universal Install/Uninstall Toilet Repair Tool
Fluidmaster’s universal install and uninstall toilet tool makes any toilet repair job simple
As an affiliate, we earn on qualifying purchases.
As an affiliate, we earn on qualifying purchases.