
Taking on DIY flooring with laminate, vinyl, or wood options can save you money and give your space a personalized touch. With the right tools and preparation, you can achieve professional-looking results while customizing your style. Laminate is easy to install with a click-lock system, vinyl is flexible and moisture-resistant, and wood offers durability and classic appeal. Curious to discover step-by-step tips and tricks? Keep exploring to turn your project into a success.
Key Takeaways
- Choose the appropriate flooring type (laminate, vinyl, or wood) based on location, budget, and skill level.
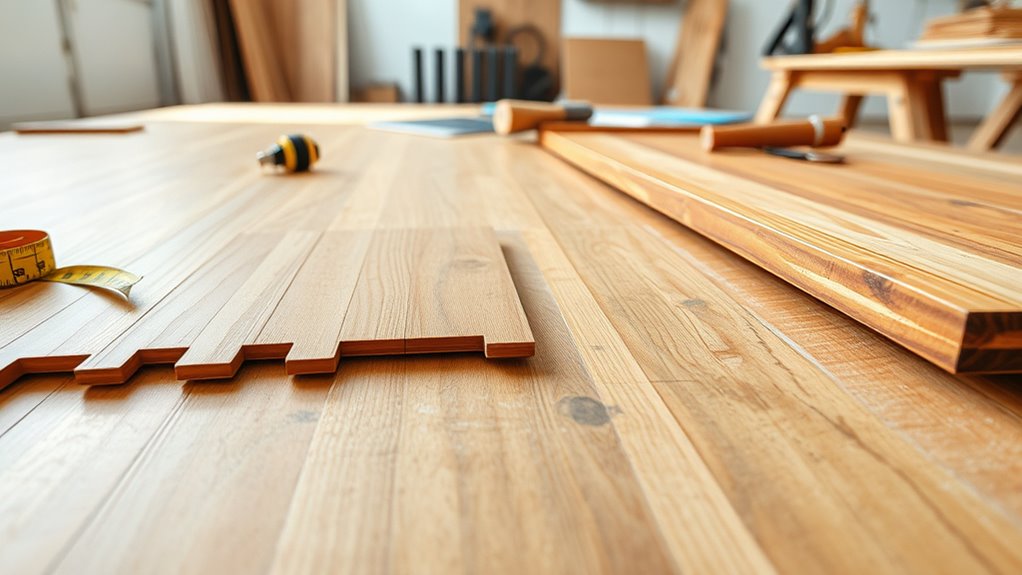
- Gather necessary tools like spacers, tapping blocks, utility knives, and saws for each flooring material.
- Prepare a clean, level subfloor to ensure a smooth, professional-looking installation.
- Follow specific installation steps and manufacturer instructions for each flooring type.
- Take your time, measure accurately, and double-check to achieve durable, visually appealing results.
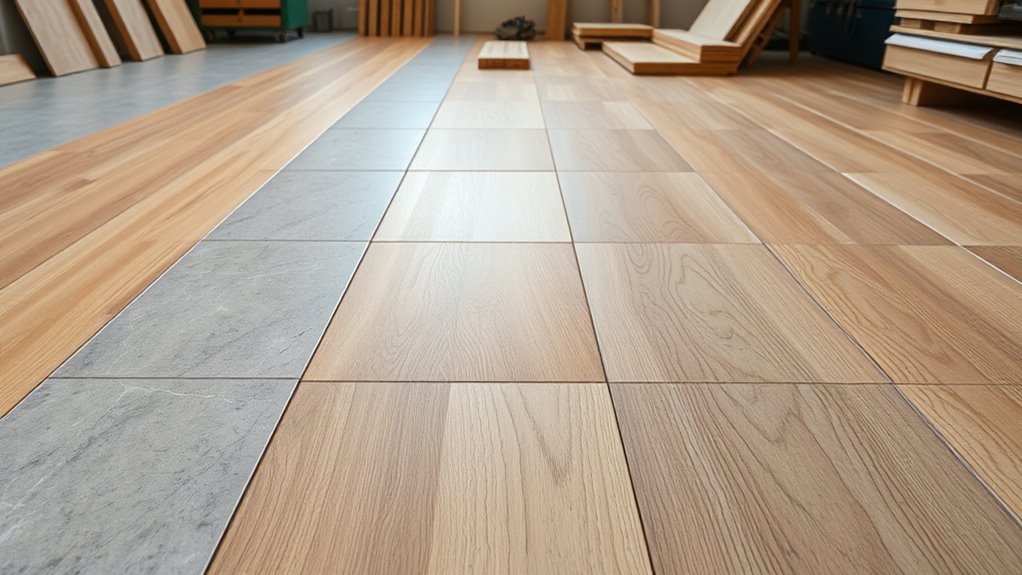
Installing your own floors can be a rewarding way to upgrade your space while saving money. When choosing your flooring, you want options that are not only budget-friendly but also durable and easy to install. Laminate, vinyl, and wood flooring each offer cost-effective options that can fit various styles and budgets. Before you start, it’s essential to gather the right tools and understand the installation process for each type. This way, you’ll ensure a smooth project and a polished finish.
DIY flooring can be affordable and rewarding with the right tools and preparation.
For laminate flooring, you’ll find it to be one of the most affordable options available. It mimics the look of hardwood but comes at a fraction of the price. Its click-lock system makes installation straightforward, even for beginners. You’ll need tools like a tapping block, spacers, a utility knife, and a saw. A laminate flooring installation kit can be a good investment because it typically includes many of these tools. When setting up, remember to leave a small expansion gap around the edges to prevent buckling. Laminate is quite forgiving, and if you follow the instructions carefully, you can achieve a professional look without professional help.
Vinyl flooring is another excellent budget-friendly choice, especially for areas prone to moisture like kitchens and bathrooms. Modern vinyl comes in planks, tiles, or sheets, and installation can be quick and simple. For peel-and-stick vinyl tiles, all you need is a clean, level surface and a utility knife or scissors. For click-lock vinyl planks, similar to laminate, a tapping block and spacers will help ensure tight seams. Vinyl is flexible, forgiving, and easy to cut, making it ideal for DIY projects. Its water resistance makes it a practical and cost-effective option for many households.
Wood flooring offers a classic look but can be more costly and labor-intensive. If you’re on a tight budget, pre-finished engineered wood planks are a good compromise—they’re easier to install and require fewer tools. For installation, you’ll need a saw, nail gun or stapler, and spacers. Make sure your subfloor is smooth and clean to avoid gaps or uneven surfaces. While installing wood floors can be more involved, taking your time and using the right tools will pay off in a beautiful, lasting result.
In all cases, proper preparation, patience, and the right tools are key. Investing in quality tools recommended for each flooring type saves time and reduces frustration. Keeping the subfloor level and clean is crucial for a seamless installation. With some dedication and attention to detail, you can transform your space yourself, creating a stunning, cost-effective floor that reflects your style.

REXBETI Laminate Wood Flooring Installation Kit, LVP Installation Kit, Vinyl Flooring Tools – Tapping Block with Handle, Pull Bar, Double-Faced Mallet and Spacers
double-faced mallet with non-slip rubber grip help absorb vibration. Constructed of cast iron with bright chrome plating, the…
As an affiliate, we earn on qualifying purchases.
As an affiliate, we earn on qualifying purchases.
Frequently Asked Questions
What Are the Best Underlayment Options for Each Flooring Type?
When choosing underlayment materials, you want options that suit your flooring type and environment. For laminate, a foam or cork underlayment with a moisture barrier works well, providing cushioning and moisture protection. Vinyl floors benefit from a rigid or foam underlayment with a built-in moisture barrier to prevent damage. For wood flooring, use cork or felt underlayment with moisture barriers if you’re installing over concrete or in damp areas.
How Do I Prepare My Subfloor Before Installation?
Did you know improper subfloor prep causes 85% of flooring failures? To prepare, first check for subfloor moisture with a moisture meter, as excess moisture can damage your floor. Then, make certain your subfloor is level; uneven spots can lead to gaps or squeaks. Sand high spots and fill low areas with a suitable leveling compound. Proper prep guarantees a smooth, long-lasting installation that you’ll be proud of.
Can I Install Laminate or Vinyl Flooring Over Existing Flooring?
You can install laminate or vinyl flooring over existing flooring if you properly prepare. First, remove any flooring that can’t support the new layer or is damaged. Then, make certain the surface is flat and clean. You might need to use a moisture barrier if the existing floor’s moisture levels are high. This helps prevent damage and ensures a smooth, durable finish for your new flooring.
What Tools Are Essential for DIY Flooring Installation?
Did you know that 75% of homeowners prefer DIY flooring to save costs? To get started, you’ll need essential tools like a tape measure, saw, hammer, spacers, and a tapping block. These tools help you achieve precise flooring patterns and guarantee proper installation. Don’t forget maintenance tips like keeping flooring clean and avoiding excess moisture. With the right tools and care, your DIY project will look professional and last for years.
How Do I Handle Uneven or Damaged Subfloors During Installation?
When you encounter uneven or damaged subfloors, start by evaluating the extent of the damage. Use a level to identify high and low spots, then perform subfloor leveling by sanding down high areas or filling low spots with a suitable patch compound. For significant damage, you’ll need to remove and replace damaged sections. Proper damage repair ensures a smooth, stable surface, making your flooring last longer and look better.

NAACOO Laminate/Vinyl Flooring Tools, Tapping Block for Vinyl Plank Flooring – Double Sided with Notches, Pull Bar, 40Pcs Floor Spacers, Rubber Mallet. Universal Floor Installation kit.
【NAACOO UNIVERSAL FLOOR KIT】 4 IN 1 Portable KIT–Tapping Block has unique combination edge design for use with…
As an affiliate, we earn on qualifying purchases.
As an affiliate, we earn on qualifying purchases.
Conclusion
With a little patience and attention to detail, you’ll find that transforming your space is both rewarding and achievable. Embrace the journey of DIY floor installation as an opportunity to refine your skills and create a beautiful foundation for your home. Remember, even the most polished floors are born from perseverance and care. As you step back and admire your work, you’ll appreciate the subtle elegance that comes from your dedicated effort.

Bruce Natural Statement 3" Wide x 3/8" Thick Click-Lock Engineered Hardwood Flooring (22sq.ft./case)
Planks click together easily, no glue or nails needed.
As an affiliate, we earn on qualifying purchases.
As an affiliate, we earn on qualifying purchases.
NAACOO Laminate/Vinyl Flooring Tools, Tapping Block for Vinyl Plank Flooring – Double Sided with Notches, Pull Bar, 40Pcs Floor Spacers, Rubber Mallet. Universal Floor Installation kit.
【NAACOO UNIVERSAL FLOOR KIT】 4 IN 1 Portable KIT–Tapping Block has unique combination edge design for use with…
As an affiliate, we earn on qualifying purchases.
As an affiliate, we earn on qualifying purchases.